Sunday, December 27, 2009

Selective Sepia

Learn how to use Photoshop to create selectively add a dramatic sepia effect a photo. This Photoshop effect works best when used with Photoshop CS3 but will also work with Photoshop CS2 or older using an alternative method.

Preview of Final Results

Selective Sepia Photoshop Tutorial

Selective Sepia Photoshop Tutorial

Step 1: Open an image into Photoshop

Open the File menu and select Open. Browse for the photo you would like to add a selective sepia effect to and click OK.
Image

Step 2: Create a Hue/Saturation adjustment layer

In the Layers pallet, click on the New Adjustment Layer icon and select Hue/Saturation.
Image
Image
A Hue/Saturation window should appear. With this tool, we'll specify where the sepia effect will appear. Decide if you want to select the sepia toned areas according to the color of the image or by manually painting the areas where you would like the sepia tone.
Choose one of the following:

A) Select by color

Selecting the sepia areas based on color will give the most natural effect.
First, decide which color in the photo that you want to keep. Then, select from the edit drop down menu the each color in the list except for the colors you want to keep and reduce the saturation to -100. For example, to keep the reds in the photo use the following settings:
Reds: 0 Saturation
Yellows: -100 Saturation
Greens: -100 Saturation
Cyans: -100 Saturation
Blues: -100 Saturation
Magenta : -100 Saturation
Image
Image

B) Select manually

Manually selecting the sepia toned areas will let you specify precisely the area that you would like toned.
Set the master saturation to -100 and click OK. Your image should now appear grayscale.
Image
Activate the layer mask by clicking on the layer mask thumbnail in the Layers pallet. Select the Eraser tool and erase the areas where you don't want the sepia tone to be applied to.
Image

Step 3: Add a Black & White adjustment layer

In the Layers pallet, click on the New Adjustment Layer icon and select Black & White. If you are using Photoshop CS2 or older, select Hue/Saturation instead.
Image
A Black & White (or Hue/Saturation if you're using Photoshop CS2 or older) adjustment layer should appear. Simply click OK without editing the settings. Then, change the blend mode of the top adjustment layer to Overlay. Double click back on the icon of the layer to bring back the tool.
Image
Photoshop CS2 or older:
You will be using the Hue/Saturation tool to add a sepia tone. Checkmark "Colorize" and apply the settings below:
Image
Photoshop CS3:
If you're using Photoshop CS3, you can use the Black and White adjustment to add a sepia tone. This will give you more adjustable settings compared to using the Hue/Saturation adjustment.
First, adjust the settings to get the black and white look that you like. Or, you can scroll through the presets menu to select one of your own. I chose the Red Filter preset to bring up the reds and darken the sky.
Image
Checkmark the Tint and adjust the tone to create a sepia effect. Click OK when done.
Image

Final Results

Red
Red
Blue and Cyan
Blue and Cyan
Yellow and Green
Yellow and Green
Selective Sepia Photoshop Tutorial
Red, Yellow, and Green


get from here

Monday, December 14, 2009

How to Create a Panorama with Photoshop and Photomerge

This post on Creating a Panorama with Photoshop and Photomerge has been submitted by Matt Dawdy from www.TheRightPic.com.
Panorama
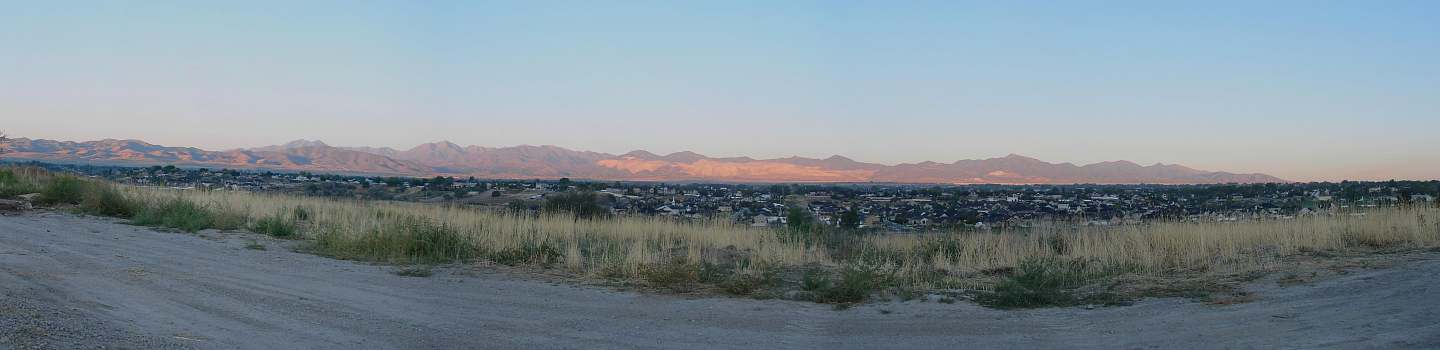
A panorama is simply a wide-angled view of a physical space. To the photographer a panorama is usually several photographs that are stitched together horizontally to create a seamless picture.
This is going to be a pretty simple tutorial in which we create a panorama using Photoshop’s Photomerge utility.

Here are the tools I am going to use to create panoramic photos:

1. A digital camera
2. A tripod or a stable surface or platform to take pictures from that allows some horizontal rotation
3. A computer and Adobe Photoshop and the Photomerge utility

When I started thinking about this tutorial I began to wonder what I should shoot. Just about any subject can be used for a panorama, however traditional panoramic photography subjects are typically landscapes or city skylines. I will show you a few different panoramas that I created, some typical, some a little different than what you would normally see for a panorama.

Sunday, November 29, 2009

Camera Shake


The phenomenon known as camera shake is caused by movement of the camera (hence the name :-)), which becomes noticeable as blur when using a slow shutter speed. The resulting blur is not quite the same as the blur caused by incorrect focusing.


How can we tell the difference between blurred focus and camera shake?
Have a look at the picture on the right. Here we have a mixture of blur caused by the subject moving, blur caused by the camera moving and the blur of the background which is out of focus. The focus is actually sharp on the main subject, but you'll have to take my word for that :-). You can see the difference between the two types of blur if you look closely, rather than a general fuzziness, movement blur looks more like a double exposure or a series of exposures. If you look at the back wall in this first picture you can see both types of blur. The wall is 'soft' due to being out of focus but also there is a double, or triple, image which is caused by camera movement.
Motion blur, whether it is caused by movement of the subject or movement of the camera, looks the same. Although some of the movement is caused by the guitarist moving, the microphone, which wasn't moving, is blurred too, as is the background, this is due to camera shake.


Take a look a this second photo, The photo is now generally sharp because I have used a flash, and therefore a much faster shutter speed, but the wall is still blurred because it is out of focus. I think if you look at the green tiles in both pictures you can see the different types of blur quite clearly.
Whereas blur caused by movement of the subject can be desirable, sometimes, to help create 'atmosphere' in a picture, camera shake should be avoided in all but the most 'arty' type of photos.
Why do we get camera shake?
No matter how careful we are, when we press the shutter button there is always some movement of the camera. At faster shutter speeds there is no noticeable effect on the picture but at slower speeds the blur becomes apparent. The way we stand, the way we hold the camera and how vigorously we press the shutter button all have an effect on the amount of movement we get.
How can we avoid movement blur from camera shake?
To eliminate the blur we can do several things:-
  1. Use a faster shutter speed and/or a shorter lens.
  2. Use a tripod with or without a remote release.
  3. Brace ourselves as best we can against a wall or other object to minimize movement.
1) The most obvious way of eliminating shake is to use a faster shutter speed. Either by opening the aperture wider or introducing more light by using a flash gun for instance.
The rule of thumb for a sharp picture, free from the effects of camera shake, is to use a shutter speed which is at least as fast as 1 divided by the focal length of the lens. So if you are using your zoom set at 100mm you should use a shutter speed of at least 1/100 of a second. If you are using a 50mm lens you will get a sharp picture at 1/50th of a second.
The reason why the focal length of the lens is important is that camera shake becomes more apparent as the angle of view gets narrower, the narrower the angle of view the more the shake is magnified. You will know this if you have ever tried to hold a telescope or a high powered pair of binoculars still.
2) Putting the camera on a sturdy tripod is the best way to keep it still and this is the way to go, especially when you want to get some movement blur from the subject like in the waterfall picture here. Even better is to get a remote release for the camera so you don't have to touch it at all.
3) If, like me, you didn't bring your tripod with you and you still want to take pictures in the dark, you can stretch the rule of thumb (above) by a few stops by bracing yourself and/or the camera against a tree or wall or lamppost. Also controlling your breathing can help quite a bit too. Here's a picture shot at a slow shutter speed using this technique.
Finally I just want to say that an inherent problem with a lot of today's smaller cameras, especially phone cameras, is that, because they have no viewfinder, we are obliged to hold them at arm's length to view the screen, often holding them only with our fingertips. This makes them infinitely more difficult to hold still and makes them much more prone to show the effects of camera shake. So even more care needs to be taken to get a sharp picture. If you are taking a picture with a phone camera (if you really must!), try to rest it on something, a table or wall, to help keep it still.

http://www.geofflawrence.com/camera_shake.html


Sharpening with the Unsharp Mask filter

The unsharp mask filter in Photoshop can be used to save certain blurred pictures. Sharpening a photo in Photoshop will not save any shot that is very blurred, nor will it save photos where the point of focus is in the wrong place, but it may help with a picture that is a little bit 'soft' due to the use of a slower than ideal shutter speed.

In Photoshop, under the filters menu, there is a submenu called 'Sharpen' where you will find several choices.

The bottom two choices, 'Unsharp Mask' and 'Smart Sharpen' open boxes full of faders that you can twiddle.

The other choices are presets that will give you a quick fix in a hurry but do not have any adjustments, so we will ignore them.

At this point I have to confess that I am still using Photoshop CS2 so there might be new filters in CS3 that I am not aware of, in fact I have only just discovered the 'Smart Sharpen' option while preparing for this article.

I will leave the 'Smart Sharpen' option until later and start with my tried and tested favorite the 'Unsharp Mask'.


There are three sliders in the 'Unsharp Mask' window, the top one 'Amount' does what it says on the can, it adjusts the amount of sharpening.

The 'Radius' slider adjusts the width of the halos that are created. Basically the way sharpening works is that it finds the edges in your picture by looking for areas of high contrast and increases the apparent sharpness by adding dark and light halos. If you look at the edge of the apple in the picture on the left you can see a dark line, rather like a pencil line along the edge.

The 'Threshold' slider allows you to specify how much contrast difference there has to be before that area is sharpened. Set this fader too low and the picture will appear grainy as there will be a sharpening halo around almost every pixel. Set the value too high and only clearly defined edges will be sharpened which can make the blurred bits look even more blurred.

This filter needs to be used very carefully to achieve the best effect. Too much sharpening can make the picture look false. On the other hand, if you look for every single little tell-tale detail and every little line, you end up not using the filter at all.

How Much Sharpening? What Settings to Use?

The final adjustment of the sliders is down to you and will vary from picture to picture, but here are some guidelines to get you started. The amount of sharpening you can get away with, especially the 'Radius' settings, depend on the resolution of the image. If it is an image destined for viewing on the screen the resolution of the image should be 72 pixels per inch. (some say 96ppi) If the image is destined for print the resolution should be 300ppi or as near as you can get it to that.

If you are planning to change the size of an image, by this I mean the file size, make sure you do the sharpening after the sizing, especially with JPEGS. Sharpening should be the last thing you do in Photoshop.

For an image that is 72ppi you should use a radius setting of about 0.4 or 0.5 pixels. Use less than this and you won't see much happening, use more and the halos will start to look too obvious. For a print image, 300ppi, start with a setting between 1 pixel and 1.7 pixels.

I prefer to use as small a 'Radius' setting as possible and push the 'Sharpen' slider quite high.

I read somewhere a while ago that the 'Threshold' slider should be set at about 3 levels. But I find that I use it anywhere between 0 and 20 or so. This is one you have to play with yourself as it really does depend on the type of picture.


Here's a picture ripe for sharpening, although I used a tripod it was taken at a very slow shutter speed in available light. The depth of field is not great so we are never going to get the whole photo in focus but at least the middle apple should be sharp. I have made the pictures nice and large so you can see the effects better.

As we are using this on the web, the radius setting should be about 0.4 pixels. So set that first and then set the 'Threshold' slider to zero for now. Move the 'Sharpen' slider from side to side to see what it will do. Normally you need to move it past 80 to see anything happening at all. If you get all the way to 500 and the picture is still not sharp enough then you need to set the 'Radius' higher.

Below you can see the settings I chose and the result. Overall it is probably the best compromise. There is a white halo around the stalk which is a bit more obvious than I would like and the black line between the apples is a bit bold but, as I said before, if you look for every bit of evidence you would end up not using the filter at all. The low 'Threshold' setting has sharpened up the skin of the apple which is where we really wanted to see the improvement. The stalk of the middle apple is now as sharp as you could want.

Sharpness always used to be the ultimate goal in my pictures but nowadays I can see that you can sometimes have too much sharpness and soft focus has it's place too.


Here's a version that has been sharpened way too much, just so you can see all the bad things to watch out for. You can clearly see the black and white halos around all the edges. This is what we need to minimize. So, use the sharpening filter with great care, better still, get the focus right in the camera.


Finally a quick look below at the 'Smart Sharpen' filter. This has many more knobs and dials to play with and so is a bit confusing at first. The left tab is much the same as we saw before but we now have a drop down menu with three different types of blur to choose from. 'Gaussian Blur' is what we have been fixing with the other filter so 'Lens Blur' in this case or 'Motion Blur' when appropriate would be a better choice for photographers. The shadow and highlight tabs give you a chance to minimize the halos and, as you can see from the preview, they can be greatly reduced. The halo around the stalk is gone and the black line between the two apples is almost gone.

This filter then, used carefully, can give you a more subtle effect. Look at all three pictures carefully, the second picture is obviously sharper but with a few tell-tale signs of sharpening, the bottom picture is more subtle but does not appear quite so sharp.

In the end, the choice is up to you. You will probably find that you over sharpen everything at first, so make sure you work on a copy file and keep the original safely out of harm's way. I now keep all original files straight from the camera and only ever work on copies. That way, as my skills improve, I can go back to the original and try a new edit.